With many bloggers moving to static site generators and success stories like Obama's $250 million fundraising platform people are accepting static site generators as a serious alternative. Especially when security and performance is important.
Regardless of all the goodness that static site generators offer, they come with a price. You need to regenerate the site every time the content changes. This must be done by a machine that has the static site generator software installed. Although this may not be a problem when you are at the office, it will withhold you from finishing an article on your tablet or fixing a typo from your cell phone.
Wercker to the rescue!
Wercker is a collaborative continuous delivery platform in the cloud. You can leverage its power to do the content generation and deployment process for you. In this post we will focus on how you set up such a process for a Jekyll site that is hosted on Amazon S3.
Prerequisites
- You have created a free account at wercker.
- You have the code of your jekyll site hosted at Github or Bitbucket.
- You have cloned a repository that contains a jekyll site locally.
- You have an Amazon S3 bucket that will serve your website.
Add your application to wercker
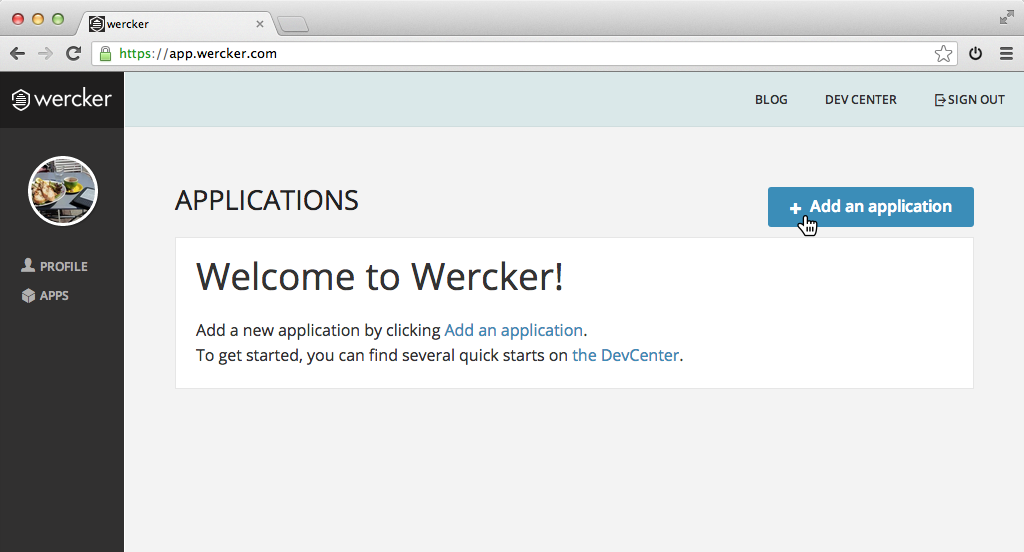
First you need to add an application to wercker. Sign in at wercker and click the big blue add an application button.
Follow the steps given and make sure you give the werckerbot user, read rights on your repository at Github or Bitbucket.
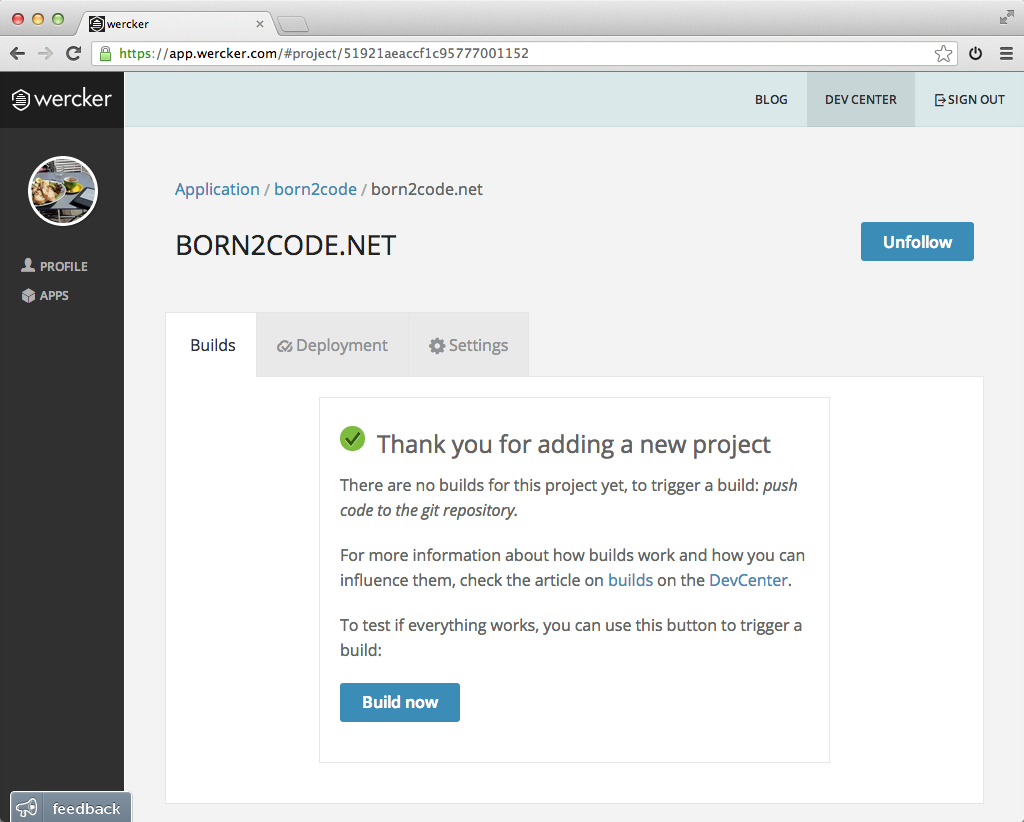
At the end of the process the following screen appears.
Creating the wercker.yml
Now it is time to define your build process. This is the pipeline that will get executed everytime changes are pushed to the git repository.
Create a new file called wercker.yml in the root of your repository with the following content:
# our build should run within a Ruby box
box: wercker/ruby
build:
  steps:
    # Run a smart version of bundle install
    # which improves build execution time of
    # future builds
    - bundle-install

    # A custom script step
    # that actually builds the jekyll site
    - script:
        name: generate site
        code: bundle exec jekyll build --trace
Lets briefly go through the wercher.yml file. The first line contains box: wercker/ruby which defines that you want to run the build in a Ruby box (by default this is Ruby version 1.9.3p429).
The second line describes the build section that consists of steps, in this case there are two steps. These steps are performed during the execution of the build process. The first step bundle-install is a smart version of the bundle install command that leverages caching so future builds will run faster. The second step script executes the script that is defined the code clause that consists of a single command bundler exec jekyll build --trace. This step actually builds your Jekyll site.
Add wercker.yml to your repository
After you created the wercker.yml add it to your repository by executing the following commands.
git add wercker.yml
git commit -m 'Add wercker.yml'
git push origin master
Because you have created an application for this repository at wercker it should now start building. Open the application page at wercker to see the following result.
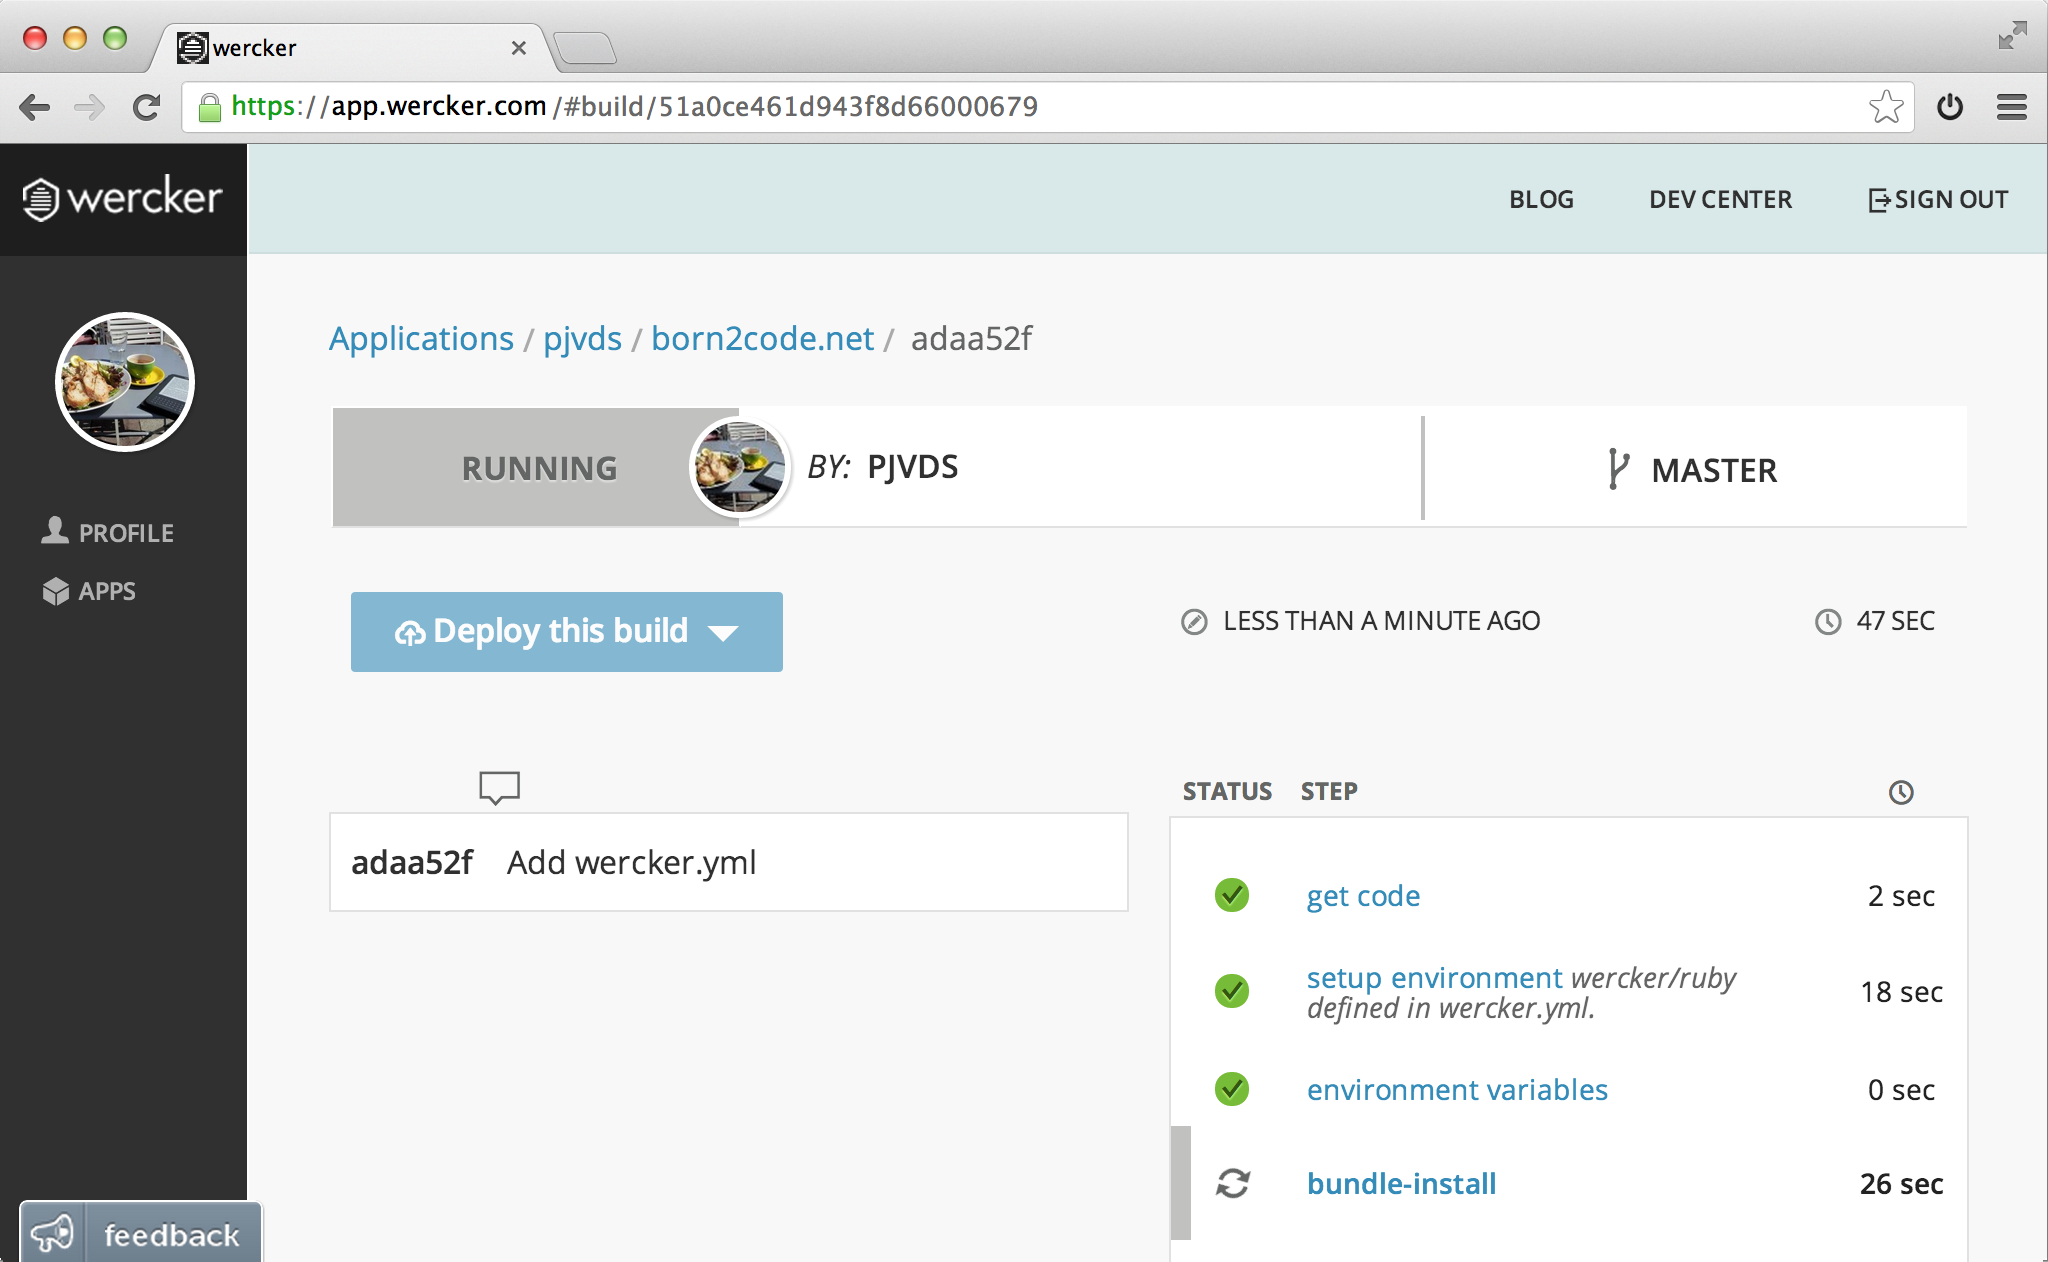
Congratulations, you first green build on wercker! If you tweet me or e-mail pj@wercker.com a screenshot I will make sure you receive a wercker sticker to celebrate.
Add deployment target information
Now you have automated your content generation process that will get executed every time you push your code to git. This is helpful to catch jekyll errors early, but without deployment it doesn't help your actual live website. Let's add a deploy target to your application on wercker so we can close the loop!
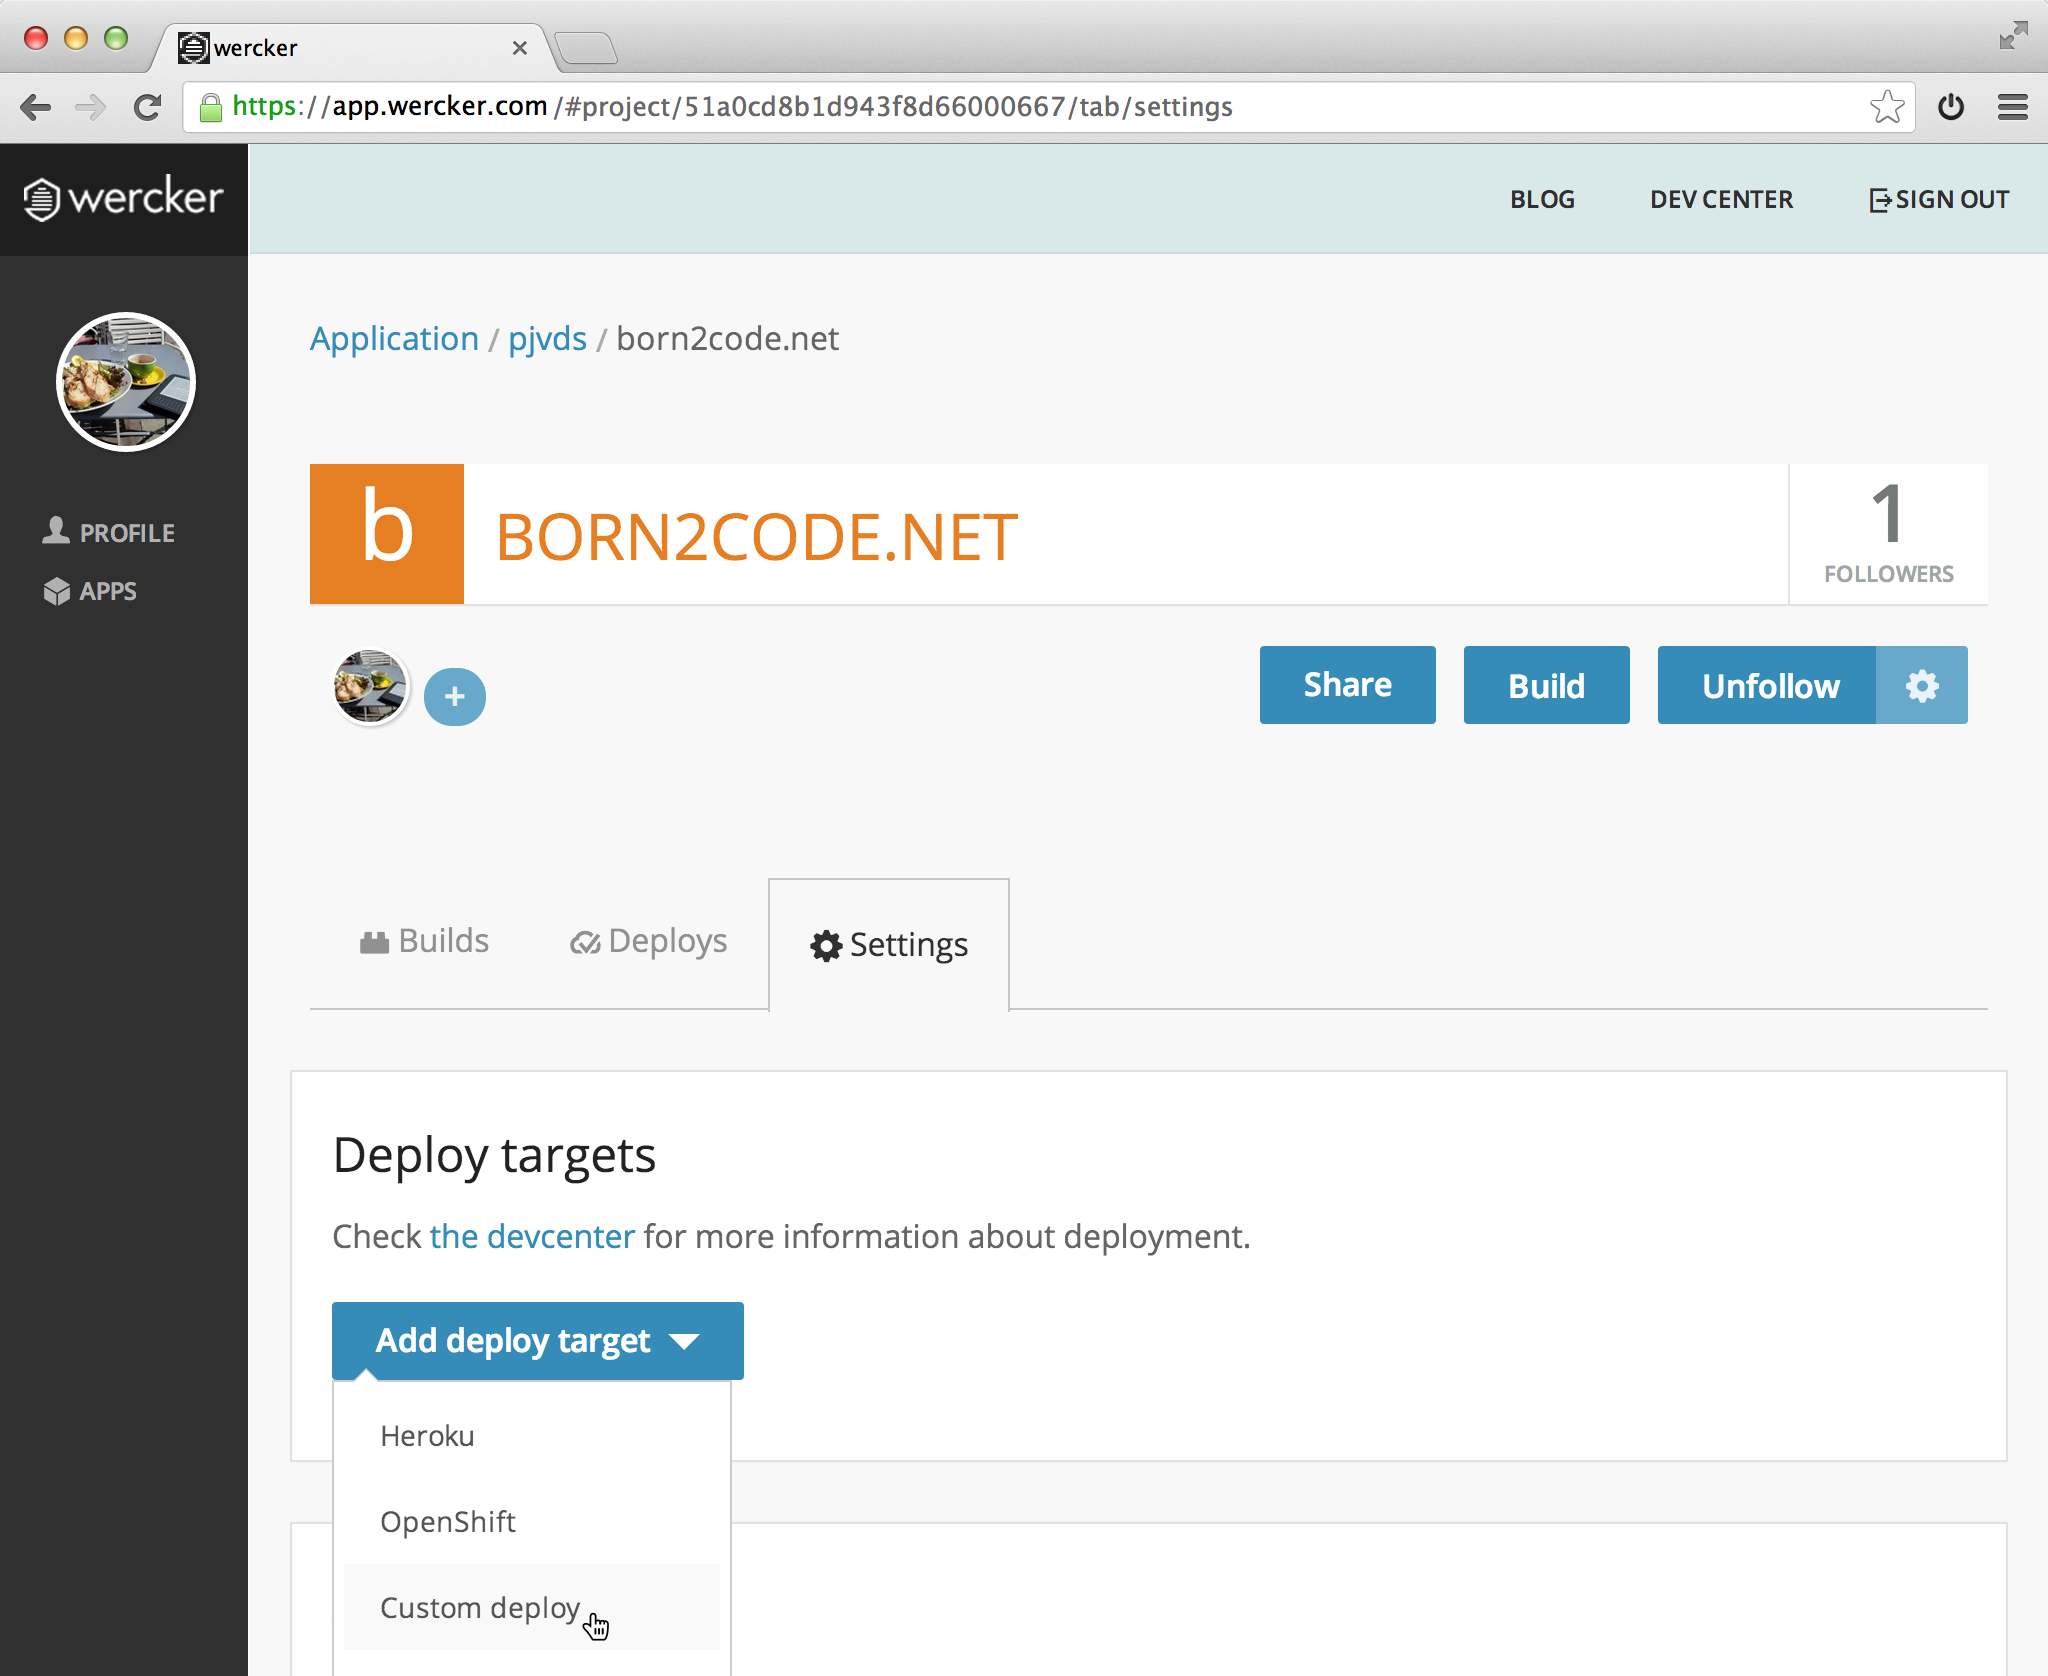
Go to your application at app.wercker.com and click on the settings tab.
A new form opens that you can use to enter information that is passed to the deployment context. Here you enter the details of your Amazon S3 bucket. The key and secret key can be found in the AWS security credentials page.

We leverage environment variables, in faith with the 12 factor design principles.
note: these aren't my real keys… duh!
If you host your website somewhere else you can leverage the custom deploy target for any type of deployment (for instance FTP or rsync)
Add deployment steps
The current wercker.yml file contains the steps that are executed when the application is built. Now you want to add steps that are run when the application is actually deployed. These steps are performed in a context that hold the information you have entered in the previous section; key, secret and s3 url.
Add the following to the end of your current wercker.yml file:
deploy:
  steps:
    - s3sync:
        key_id: $KEY
        key_secret: $SECRET
        bucket_url: $URL
        source_dir: _site/
The s3sync step synchronises a source directory with an Amazon S3 bucket. The key_id, key_secret and bucket_url options are set to the information from the deploy target, previously created. Only the source_dir option is hard coded (or should I say hard configured) to _site/. This is the directory where Jekyll stores the output.
We could also hard code the key and key secret in here, but that is not something you want to put in your git repository. Especially not when you repository is public like mine.
Commit the changes of the wercker.yml file and push them to your repository.
git add wercker.yml
git commit -m 'Add deployment section'
git push origin master
Deploy it!
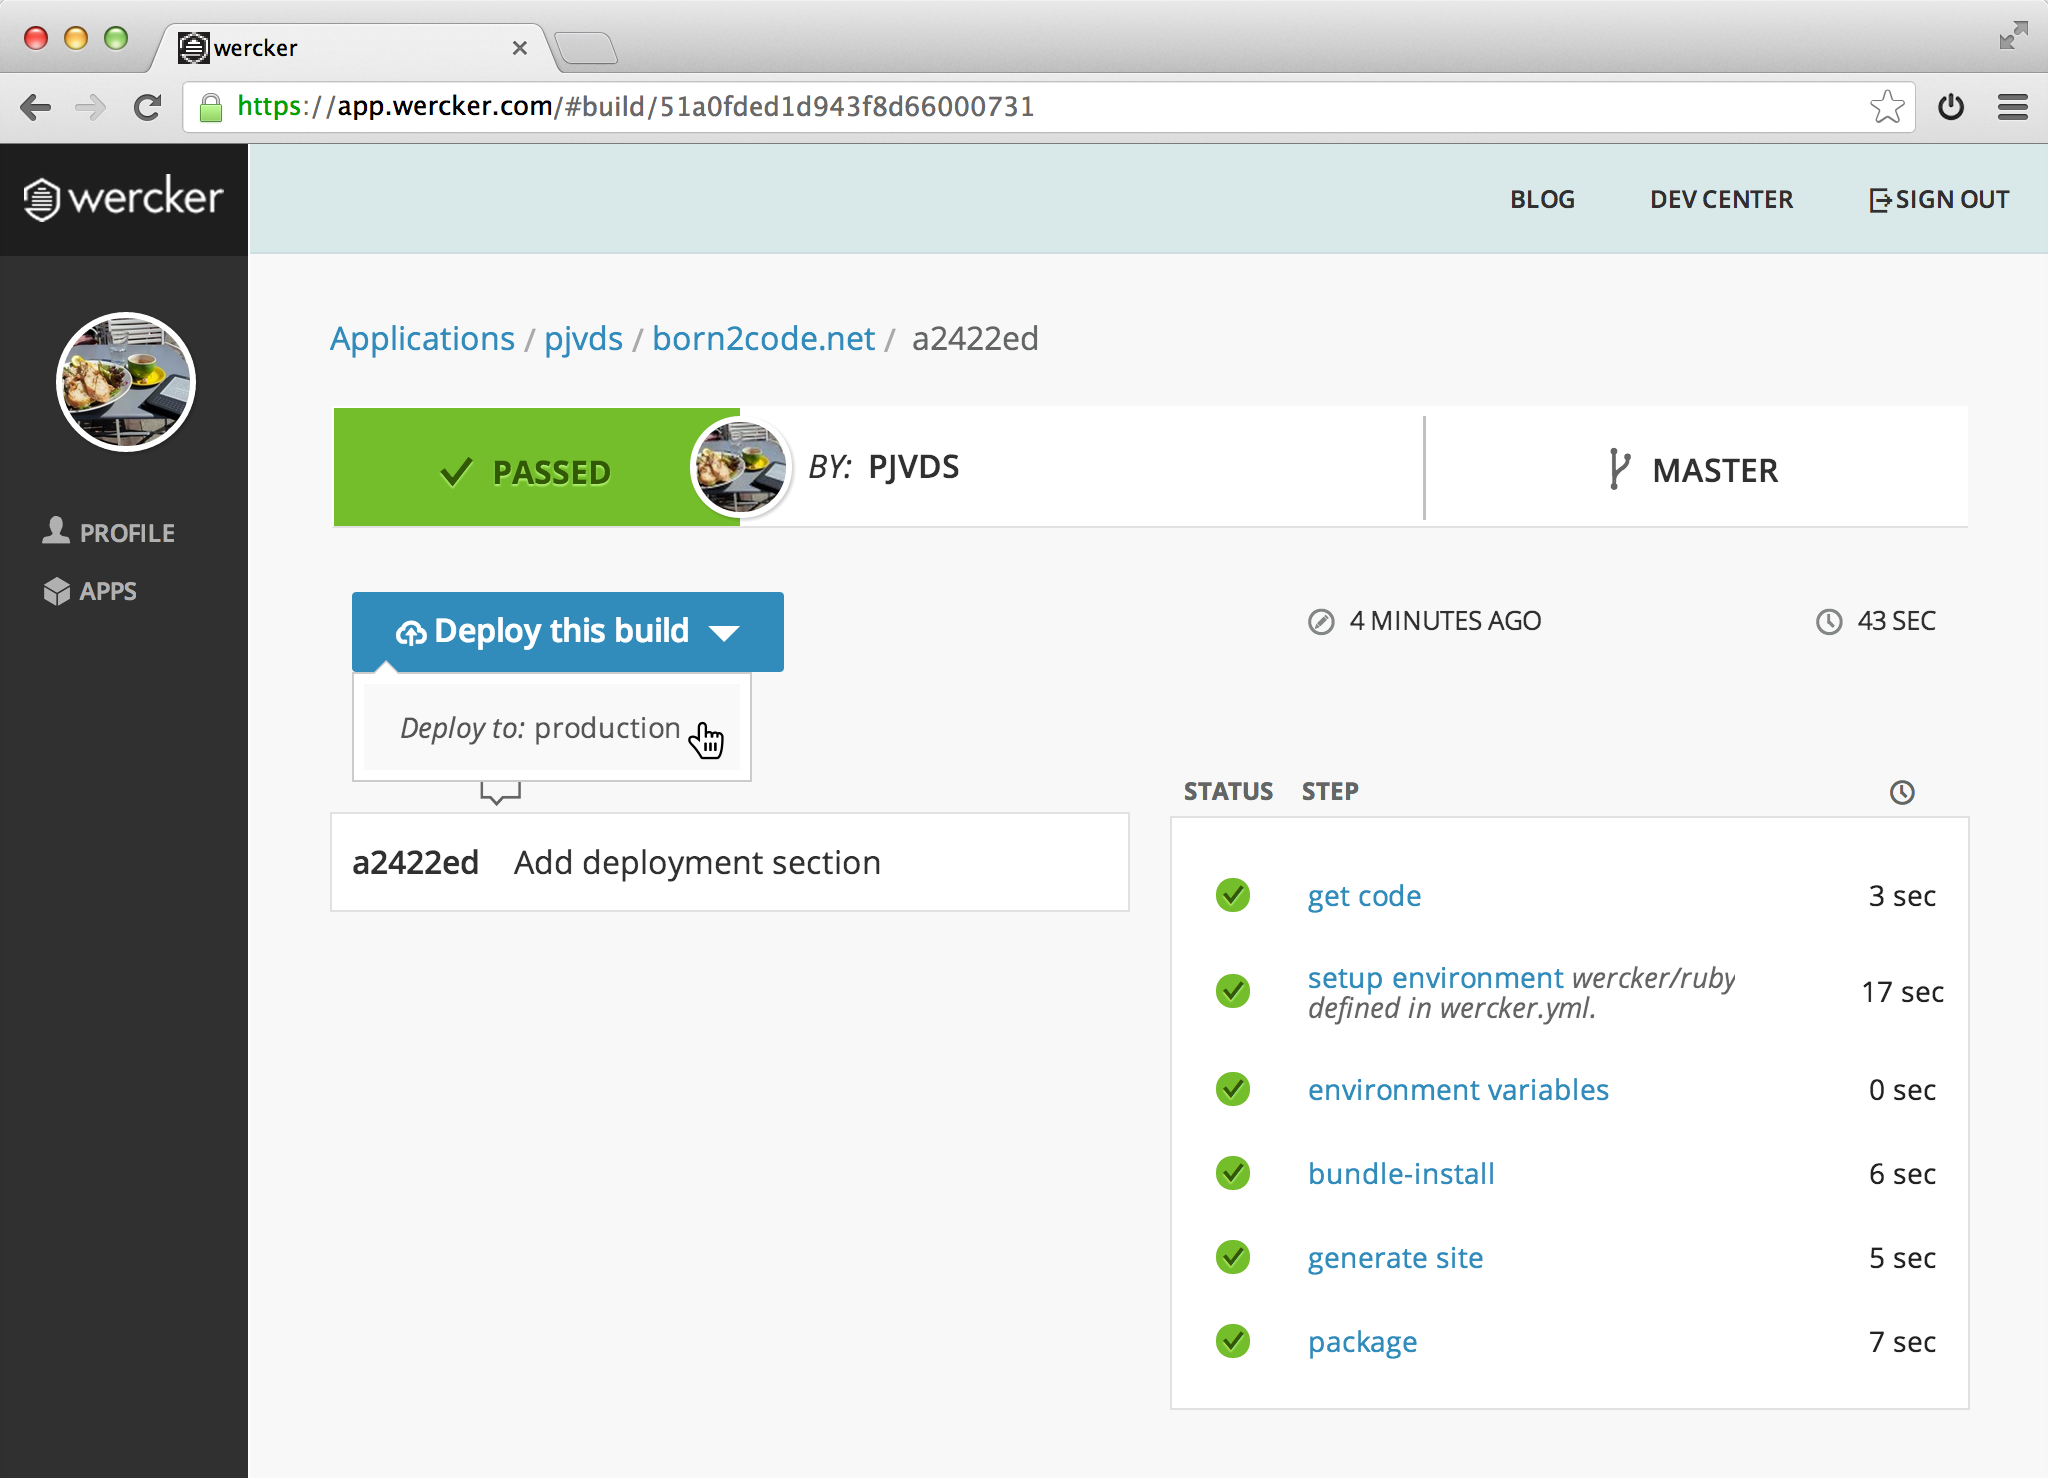
You have pushed changes to your repository, thus wercker created another build. Now the deployment information that you have added in the previous steps can be used to deploy the website. This can be done for every successful build in your application by clicking the blue deploy button.
Did anything go wrong?
Let me help you! Just tweet me or sent me an e-mail pj@wercker.com.
Learn more
- You can learn more from my wercker.yml file.
- See my own personal blog, born2code.net, at wercker.